
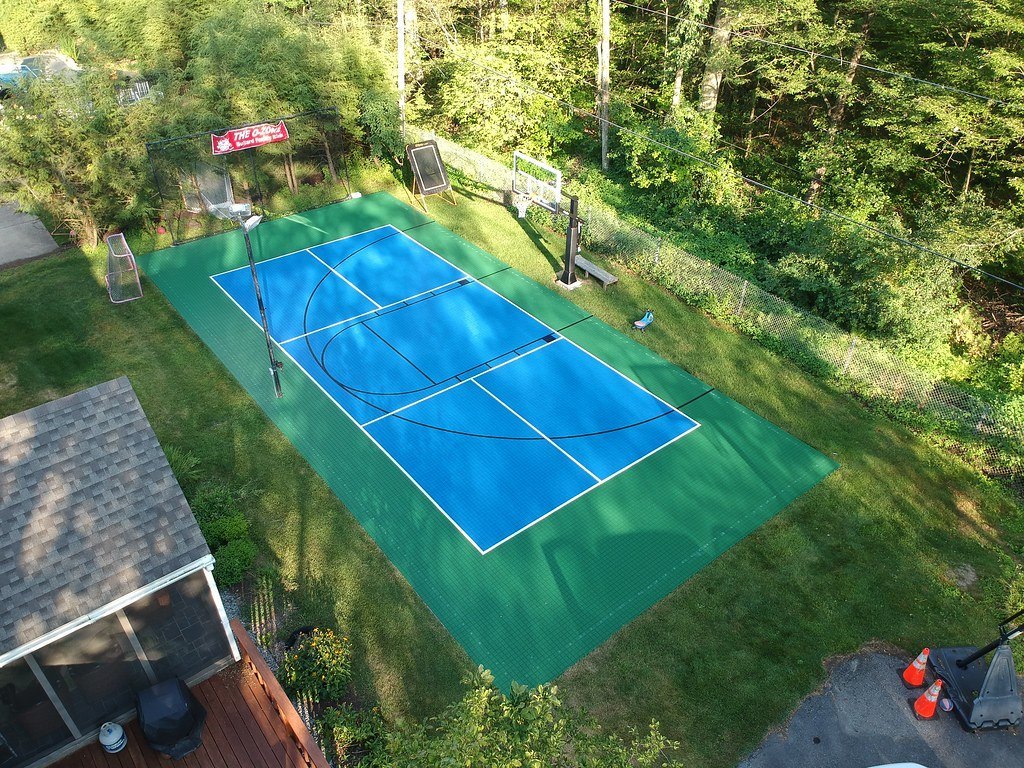
Step 1: Substrate Preparation (3-5 days)
The foundation of construction quality. This step determines the durability of the entire court.
Step 2: Primer Coat (4-6 hrs)
Acrylic-specific AB primer (A:B:water = 1:1:3), usage approx. 0.078 kg/m2, enhancing substrate adhesion.
Step 3: Elastic Reinforcement Layer (2-3 coats, 12-24 hrs each)
Acrylic coating + quartz sand (80-100 mesh) + water. Layer-by-layer curing determines underfoot feel and cushioning.
Step 4: Textured Top Coat (2-layer process)
Acrylic finish coat + sand ratio (1kg coating to 0.3kg sand). Forms the silicon carbide texture — the source of acrylic courts' superior ball response.
Step 5: Court Marking (12 hrs)
Standard pickleball layout: inside playing area 13.4x6.1m, line width 5.08cm (2 in). Multi-court installations can use color-coding.
Step 6: Accessories Installation
Pickleball net frame installation (sideline post height 0.914m, center 0.864m); full court-plus-accessories package delivery available.
Pickleball Court 7-Step Construction Process
TL;DR: The standard acrylic pickleball court construction has 7 steps: (1) Substrate preparation (3-5 days) (2) Primer coat (4-6 hrs) (3) Elastic reinforcement layer (2-3 coats, 12-24 hrs each) (4) Textured top coat (2-layer process) (5) Court marking (12 hrs) (6) Accessories installation (7) Final inspection. LOCVIN 98 CNY/m2 all-inclusive (subject to official quote) covers all 7 steps — each step explained in full below.
Step 1: Substrate Preparation (3-5 days) — The foundation of construction quality. This step determines the durability of the entire court.
- Inspect substrate — Confirm it is C25 or above concrete or asphalt; no sandy surface, no cracking, no hollow areas.
- Repair defects — Use specialized repair compound, epoxy mortar, or polyurethane sealant to treat pits and cracks.
- Clean and grind — Remove dust and oil; grind and level if needed, or apply self-leveling compound.
If the substrate is not up to standard and the next steps are forced ahead, all subsequent work is wasted. The time for substrate preparation cannot be skipped.
Step 2: Primer Coat (4-6 hrs) — Material: acrylic-specific AB primer (A:B:water = 1:1:3), usage approx. 0.078 kg/m2. Function: enhances surface adhesion and provides good bonding conditions for subsequent coats. The primer is the "bonding layer" of the entire coating system — uneven application leads to delamination.
Step 3: Elastic Reinforcement Layer (2-3 coats, 12-24 hrs each) — Material: acrylic-specific coating + quartz sand (80-100 mesh) + water. Function: increases surface thickness, improves overall strength and abrasion resistance, extends court lifespan. Key: 2-3 coats applied layer by layer, each coat must cure fully 12-24 hours — this step determines underfoot feel and cushioning performance.
Step 4: Textured Top Coat (2-layer process) — Material: acrylic finish coat (solid color or with micro-rubber layer) + 1kg finish coat to 0.3kg sand. Function: determines the court's visual appearance and performance characteristics — slip resistance, abrasion resistance, and ball-spin response. The silicon carbide texture is formed in this step — the source of acrylic courts' superior ball-spin performance.
Step 5: Court Marking (12 hrs) — Layout per standard pickleball dimensions: inside playing area 13.4x6.1m, line width 5.08cm (2 in). Multi-court installations can use different colors to distinguish playing area, NVZ, and buffer zone.
Step 6: Accessories Installation — Pickleball net frame installation (sideline post height 0.914m, center 0.864m). LOCVIN delivers court + net frame + paddles + balls as a complete package — accessories delivered in this step.
Step 7: Final Inspection: Diagonal verification — both diagonals should be 14.72m. Dual net-height check — sideline posts 0.914m, center 0.864m. Surface inspection — no bubbles, no delamination, uniform texture.
Note: Construction below 5°C is not recommended; low temperatures affect coating curing.
This article covers the 7-step process for acrylic court coating. Two other options with faster installation:
- Interlocking court tiles — snap-lock assembly, 1-3 days, no layer-by-layer curing required.
- Elastic acrylic roll — on-site installation and marking, 1-2 days; multi-roll joining by welding or adhesive backing.
7-Step Schedule Overview
The table below summarizes each step and timeline for the acrylic court coating process. Total approximately 5-7 days (depending on weather and site conditions). Specific timelines and material quantities subject to formal quote.
| Step | Process | Duration | Key Notes |
|---|---|---|---|
| 1 | Substrate Preparation | 3-5 days | Inspect substrate (C25+ concrete or asphalt), repair defects, clean and grind; self-leveling compound if needed |
| 2 | Primer Coat | 4-6 hrs | Acrylic-specific AB primer (A:B:water = 1:1:3), usage approx. 0.078 kg/m2; enhances surface adhesion |
| 3 | Elastic Reinforcement Layer | 2-3 coats, 12-24 hrs each | Acrylic coating + quartz sand (80-100 mesh) + water; layer-by-layer curing determines underfoot feel and cushioning |
| 4 | Textured Top Coat | 2-layer process | Acrylic finish coat + sand ratio (1kg coating to 0.3kg sand); forms silicon carbide texture; determines slip resistance and ball-spin response |
| 5 | Court Marking | 12 hrs | Standard layout: playing area 13.4x6.1m, line width 5.08cm (2 in); multi-court can use color-coding |
| 6 | Accessories Installation | With court delivery | Net frame installation (sideline posts 0.914m, center 0.864m); complete package delivery available |
| 7 | Final Inspection | Before handover | Diagonal check (both = 14.72m), dual net-height measurement, surface inspection (no bubbles, no delamination, uniform texture) |
Frequently Asked Questions
Q3: Are there temperature requirements for construction?
A: Yes. Construction below 5°C is not recommended, as low temperatures affect coating curing. Avoid construction during extreme cold and rainy weather; choose a period with suitable temperatures and a dry surface.
Q4: What are the court marking dimensions and net height?
A: Standard pickleball layout: inside playing area 13.4x6.1m, line width 5.08cm (2 in); net post height at sidelines 0.914m, center 0.864m. Multi-court installations can use different colors to distinguish playing area, NVZ, and buffer zone.
Q5: How do I know if the court passes final inspection?
A: Three main checks — diagonal verification (both diagonals should be 14.72m), dual net-height measurement (sideline posts 0.914m, center 0.864m), and surface inspection (no bubbles, no delamination, uniform texture).
Q6: Are there faster options besides acrylic court coating?
A: Two faster options — interlocking court tiles use snap-lock assembly and complete in 1-3 days with no layer-by-layer curing; elastic acrylic roll is installed and marked on-site in 1-2 days, with multi-roll joining by welding or adhesive backing. Final selection and pricing subject to formal proposal.